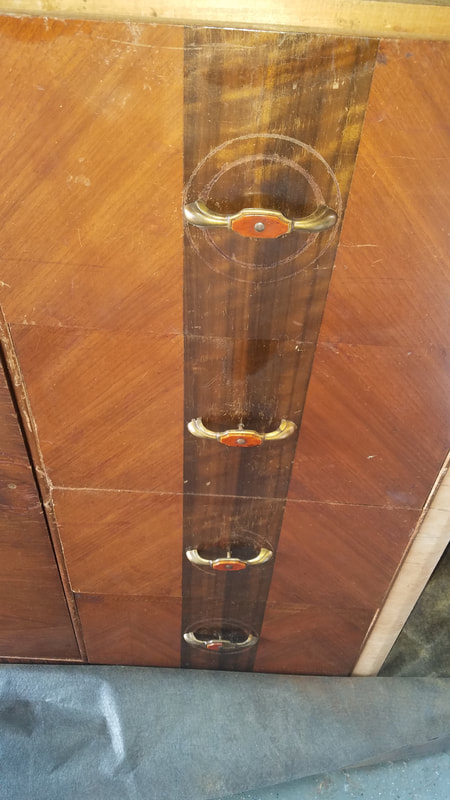
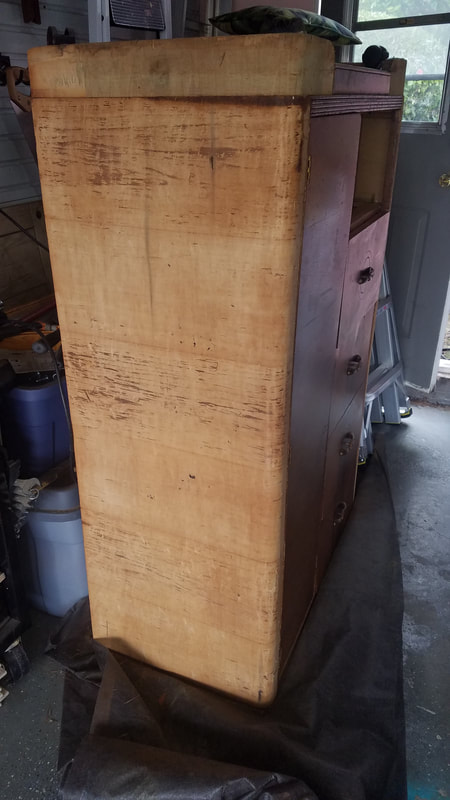
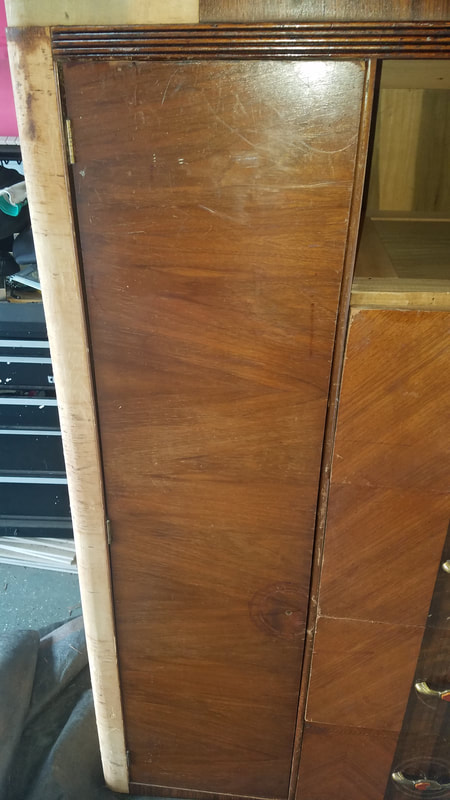
I have stripped and refinished numerous pieces of furniture, but this was going to be different. Art Deco pieces commonly have wood veneer. The veneer on this piece was damaged and marked up, so I wanted to replace it. Wood veneer cannot be stripped using chemicals. It has to be chipped off. Piece by piece. Then new veneer has to be glued on, similar to wallpaper. This was all new territory for me, so I watched a You Tube video and it looked pretty easy. I anticipated a month or so and it would be in my office, ready to store clothes and jewelry.
Instead, this project took me over a year to complete and almost destroyed my love of DIY. So what happened?
Chipping off the veneer took a lot of work and a lot of time. I mean, A LOT of time. I had originally considered redoing the entire piece, but after spending three hours one Sunday and having one tenth of one side completed, that plan changed to taking off the veneer on just the two sides.
Speaking of changing my plans, after months of chipping veneer away, pasting veneer around a curved piece of furniture started to look pretty daunting. The D-Man said, “You have come this far, you might as well keep going.”
I am no quitter, so off to the woodworking store I went to buy veneer. The veneer was going to cost over 150.00. The guy helping me at the store wasn’t exactly optimistic about a first time user (me) being able to manage a big, curved tricky piece of furniture with a material I had never used. I suddenly had visions of Lucy and Ethel doing wallpaper on “I Love Lucy”. The almost $200.00 I was about to spend was also not making my Goodwill find look like a steal either.
“You know you can stain it. And did you know that you can add stain to the other veneer?” he told me.
No, that fact had not been shared in the only You Tube video I watched. Almost a solid year of peeling two sides, could have been alleviated.
My one-year- put- veneer- back- on plan, became a stain plan in the middle of the store.
I did want to try something different in my DIY life. Abandoning my original plan made me feel like a failure, but after thinking it about it a little more, I realized I had learned quite a bit and not just pertaining to DIY, but life in general. Here are my dresser lessons:
Sometimes you do have to accept your limitations. I love doing and learning new things, but having never glued veneer on anything in my life, doing it for the first time on a curved piece of furniture, was unrealistic. Especially when the whole idea of DIY is to save money on great pieces of furniture. Factoring in the cost of materials (and there would have been a lot of wasted materials!) I would have ended up spending more than I would have paid to buy it in an antique store.
Changing direction doesn’t mean you failed. No, I did not end up with an authentic Art Deco redo, but I still ended up with a great dresser.
Watch the video all the way to the end. I am not talking just about You Tube here. If I would have not rushed into starting something without a realistic and informed plan, I could have saved myself a lot of time and stress. The dresser had a wheel that needed fixing, something I had also never done before. I spent the good part of a Sunday afternoon, thinking through how I could fix it. The actual doing took a lot less time and it was a solid success. Plus, I still made my goal of learning a new skill and I have a functional and unique addition to my home office.
Check out the finished pictures on my Home Ideas page.


 RSS Feed
